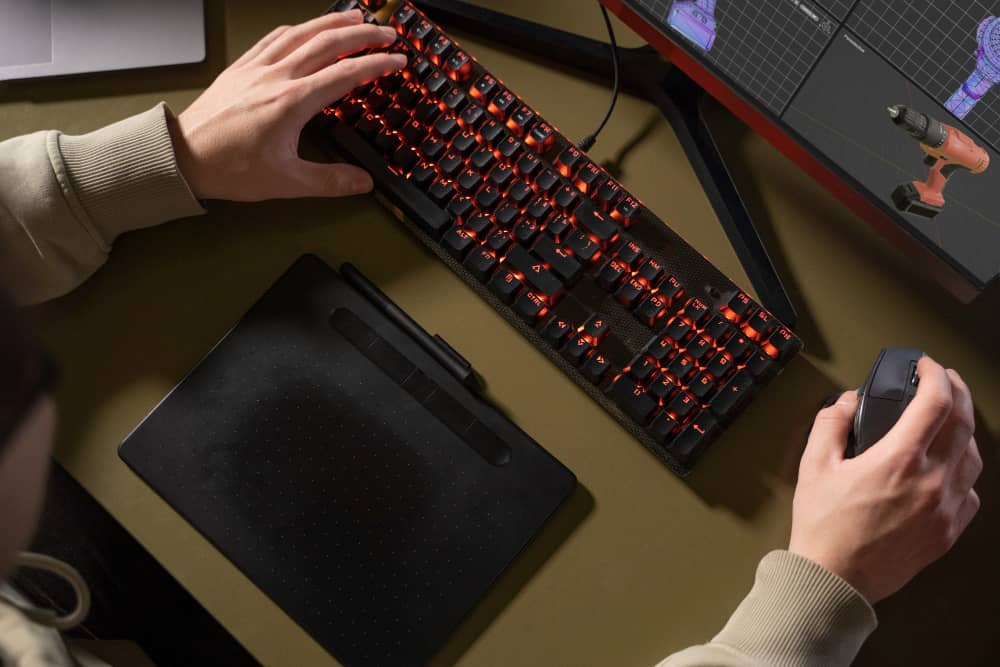
Taking a screenshot is an essential function, whether you’re saving important information, sharing a screen capture with someone, or troubleshooting technical issues. Mechanical keyboards, like standard ones, have multiple ways to take screenshots, depending on the operating system and keyboard layout. This guide covers various methods for capturing your screen effectively.
1. Using the Print Screen (PrtScn) Key
Most mechanical keyboards have a Print Screen (PrtScn) key, often located near the top-right corner of the keyboard. Here’s how to use it:
For Windows Users:
PrtScnKey: PressingPrtScncaptures the entire screen and copies it to the clipboard. You can paste it (Ctrl + V) into an image editor like Microsoft Paint or Photoshop.Alt + PrtScn: This captures only the active window and copies it to the clipboard. Paste it into an image editing tool to save.Win + PrtScn: Takes a screenshot of the entire screen and automatically saves it inPictures > Screenshots.Win + Shift + S: Opens the Snipping Tool for custom screenshot selection, allowing you to choose a specific area to capture.
For macOS Users:
Command + Shift + 3: Captures the entire screen and saves it to the desktop.Command + Shift + 4: Allows you to select a specific area to capture.Command + Shift + 5: Opens the screenshot toolbar for recording and capturing different parts of the screen.
2. Using Snipping Tools for More Control
Windows Snipping Tool (Snip & Sketch)
Windows offers the Snipping Tool and Snip & Sketch for more advanced screenshot options. To access them:
- Press
Win + Shift + Sto open the snipping toolbar. - Choose from Rectangular, Freeform, Window, or Full-screen snip modes.
- The screenshot is copied to the clipboard and can be edited in the Snip & Sketch app.
macOS Screenshot Tool
Mac users can use Command + Shift + 5 to open the built-in Screenshot app, which provides options for capturing a portion of the screen, the entire screen, or a selected window.
3. Using Third-Party Software
If your mechanical keyboard lacks a dedicated PrtScn key, or if you need more features, consider third-party screenshot tools:
- Lightshot (Windows & Mac) – Simple and allows quick editing.
- Greenshot (Windows) – Free and open-source with advanced screenshot features.
- ShareX (Windows) – Feature-rich, including GIF capture and direct uploads.
4. Mapping Screenshot Keys on Custom Mechanical Keyboards
Some mechanical keyboards allow key remapping via software like:
- Razer Synapse (for Razer keyboards)
- Corsair iCUE (for Corsair keyboards)
- Logitech G Hub (for Logitech keyboards)
- QMK or VIA (for custom mechanical keyboards)
Using these, you can assign a different key or combination for taking screenshots if PrtScn isn’t available.
Conclusion
Taking a screenshot on a mechanical keyboard is straightforward once you know the right key combinations for your operating system. Whether using built-in shortcuts, snipping tools, or third-party software, you can quickly capture and save what’s on your screen. If your keyboard allows customization, remapping screenshot keys can make the process even easier. Try out these methods and find the one that best suits your workflow!

